Conversion of the Panasonic DMC-TZ8 to infrared, 06 May 2022
Conversion of the Panasonic DMC-TZ8 to full spectrum, 06 May 2022
This is my second full spectrum conversion for infrared photography. My first attempt, with a Canon Powershot A1400, was only partially successful in that I managed to remove the IR pass filter but it was a little clumsy and the resulting photographs were never quite in focus. No matter how hard I tried.
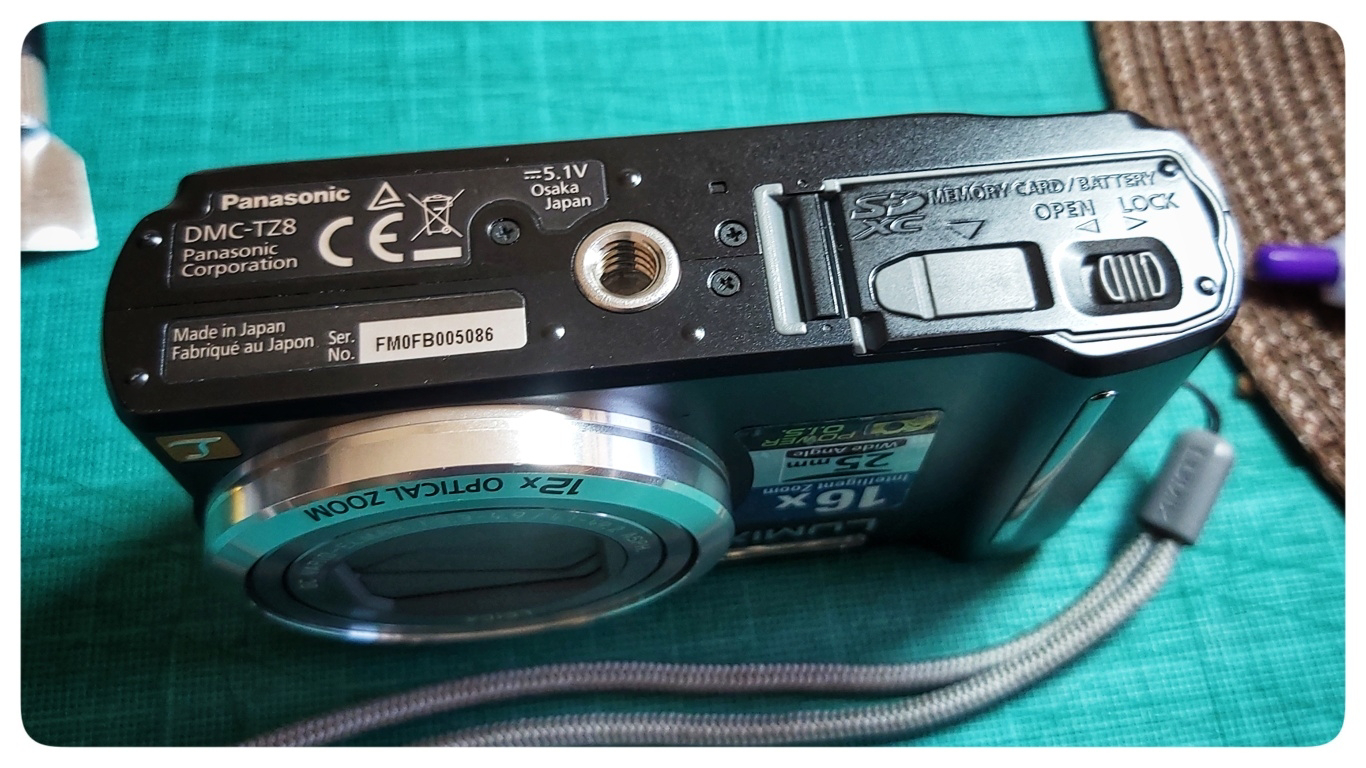
Since getting the A1400 I 'treated' myself to a couple of other old digital cameras, but it was only when a digital camera outlet box came up at the Kamerastore that I found a camera worthy of conversion: the Panasonic Lumix DMC-TZ8. Released in 2010, the Lumix DMC-TZ8 shoots with up to 12.1-megapixel resolution and features a 12x, 25-300mm lens.
So it's quite a powerful little camera and surely too good to come bundled in a box with several other #shittydigital cameras for 35€? There's always a risk with buying an outlet box from Kamerastore. As they clearly say on their website, cameras come 'in AS IS condition ... Some items are completely useable! Some items are completely broken!' So it's always a bit of a lottery what you might receive. But in a way that's part of the challenge, and I pressed ahead and ordered outlet box 1332.
On arrival, the Lumix DMC-TZ8 looked to be in great condition. It came with the charger, so I wasted no time in charging it up and rattling off a few frames. Everything seemed fine, but then I pointed the camera at a clear blue sky and there it was, the reason this lovely camera was in the outlet box, a large black blob in the top left part of the screen.
Taking a few more photos and videos at different focal lengths it seemed that the blob stayed in the same position, so it was possible that this was something on the sensor itself rather than inside the lens mechanism. Well, as I was planning to tear down the camera anyway I might as well see if I can clean the blob away while I'm doing so.
Armed with the confidence from my first conversion I prepared the tools required for getting into the camera and making sure all of the tiny screws were kept safe. Before doing anything I removed the battery and the SD card and looked around the outside of the camera for the position of the screws: four on each side, three on the bottom. I knew that I didn't need to undo all of the screws, just the ones holding the back onto the chassis (I nearly came unstuck with this on the previous conversion. When I removed all of the screws the Canon basically fell apart and it was a challenge to get it all put together again).
As I removed each screw I taped it to a piece of paper on which I had roughly drawn the outline of the camera (top, left, right and bottom views) and where the screws were positioned. This kept them safe and would aid in putting the device back together later. Once the screws were removed the back of the camera popped off really easily.
The back of the camera and the LCD screen were attached to the chassis by two delicate ribbon cables. In an ideal conversion I think that the best thing to do is to remove these completely. However, with my dodgy eyes I couldn't really figure out how they came off, so left them in place and delicately moved the camera around to get at the various parts. Here, I think, I was lucky.
Underneath, protecting the sensor mechanism and other circuits, was a large metal plate. The two screws fixing the plate to the chassis were easily removed, but then I realised that to remove the plate safely two other screws to the left of the camera also needed removing before the plate popped out easily. And there underneath was the sensor.
Unlike the Powershot A1400, where the sensor screws were also glued into place, in the Lumix DMC-TZ8 the sensor is simply held into place with three screws. When removing the screws count how many turns are required to unscrew the sensor (in this case 10) which helps when reassembling that you don't overtighten the sensor position later. Undoing these the sensor naturally popped out of its housing and it was fairly easy to grip the edges with fine nosed tweezers and lift it up to reveal the sensor itself. It is vital not to touch the surface of the sensor, nor the delicate connections around it, but the metal plate has ample room to hold it away from its housing to remove the IR pass filter.
Lifting the sensor revealed a little rubber seal (I've heard it called a 'boot', which I quite like) over the top of the sensor holding the glass IR pass filter in place. In this case, sitting on the top of the filter was a large grain of sand (or something), the source of the large black blob seen on all of the photos. I was relieved about this, as the worst case scenario was something actually on the sensor. A few bursts of air from a lens blower removed this, and I flushed out the lens mechanism with more air, just in case.
With another pair of fine nosed tweezers I pulled off the boot from the sensor, which was a little tight, and the boot and the filter came away from the sensor. The filter came out of the boot quite easily and was put to one side.
Position the boot back into the chassis of the camera above the lens mechanism and move the sensor back into place. Screw the sensor back into place for the same number of turns it took to get it out (10, in my case). Actually, I fitted all three screws into place first and turned each screw 8 times and then tighted the three screws evenly for the final two turns to secure it into place.
Then it was a simple process to reassemble the camera in the same order that it was disassembled in the first place: First the metal plate, then the back popped back into place (remembering to be doubly sure not to damage or twist the ribbon cables) and then the screws holding the back in place. Now is the most nerve-wracking part: switching on the camera and making sure that it's working.
Replacing the battery and SD card I powered up the camera and the screen lit up, casting everything with the familiar pink tinge typical of full spectrum cameras. I was also delighted to see that the black blob was completely gone.
I took the camera outside for a couple of test shots, which were perfectly in focus, and then held the Hoya 720nm filter in front for some infrared photographs, which were spot on, even in macro mode. Changing the settings to monochrome, with the infrared filter the images were lovely. I declared this conversion a success and it was time to go for a walk.
Taking a variety of different subjects, though mainly of vegetation which is where infrared photography (literally) shines, the results with the Lumix DMC-TZ8 were little short of spectacular. Grass and trees were a brilliant white at times, and the skies a rich grey, or darker. I was particularly thrilled with a woodland panorama, where the details in the ferns and the trunks of trees were amazing. In conclusion, if you have an old Lumix DMC-TZ8 lying around that you would like to breathe new life into, or you can get your hands on one, it's a worthy contender for conversion to full spectrum for infrared photography.
Addendum: My next task is to get a 37mm IR filter to fit onto the lens of the camera so that I don't have to hold a filter in front all the time. But that's for a future post.


Comments
Post a Comment